Manage Classes
Classes are the central concept in the teacher area. In a class you organize students, distribute homework and view progress.
Create a new class
- In the teacher dashboard click New class.
- Enter a name (e.g. "7a 2025/26"). The name is what you and your students see in the UI.
- Optional: a description or note (e.g. "Elective computer science").
- Save.
The Lab automatically creates a class code – a random string of 8 to 24 characters. The code is globally unique and unmistakable.
Class code: not changeable
The code is generated once and stays the same for the class's lifetime. If you need to "burn" a code (e.g. because it leaked publicly), create a new class and migrate students – the Lab does not automate that.
Share the class code
You see the code:
- On the class detail page (large box on top)
- Optionally as copyable text or QR code (for projection in class)
Pass the code to students – via email, school platform, or verbally. Students use it at the class-code student login.
Codes are sensitive
The code alone is not enough to log in – students additionally need their exact student name. Still, don't share the code publicly (Twitter, Instagram, …).
Add students to the class
Two ways:
A. Class-code students (no email)
The simplest option – no email account needed.
- Class detail page → Add student
- Enter student name (e.g. "Max M.")
- Save
The Lab creates an account with a pseudo-email (internally: <id>@class-<code>.local, invisible to students). The student can now log in with class code + that name.
Pros:
- No email verification needed
- No parental consent email needed (the school bears responsibility)
- Quick to set up for whole classes
Cons:
- Student can only log in in the school context (tied to the code)
- Student cannot add their own email
- Account is deactivated on leaving the class
B. Invite a student with their own email
If a student already has a Lab account (e.g. from prior learning):
- Class detail page → Invite existing student
- Enter the student's email address
- Student gets an invitation email with confirmation link
- After confirmation the student is a member of your class
This option fits older students, external participants, or adults.
Manage the student list
On the class detail page you see all students:
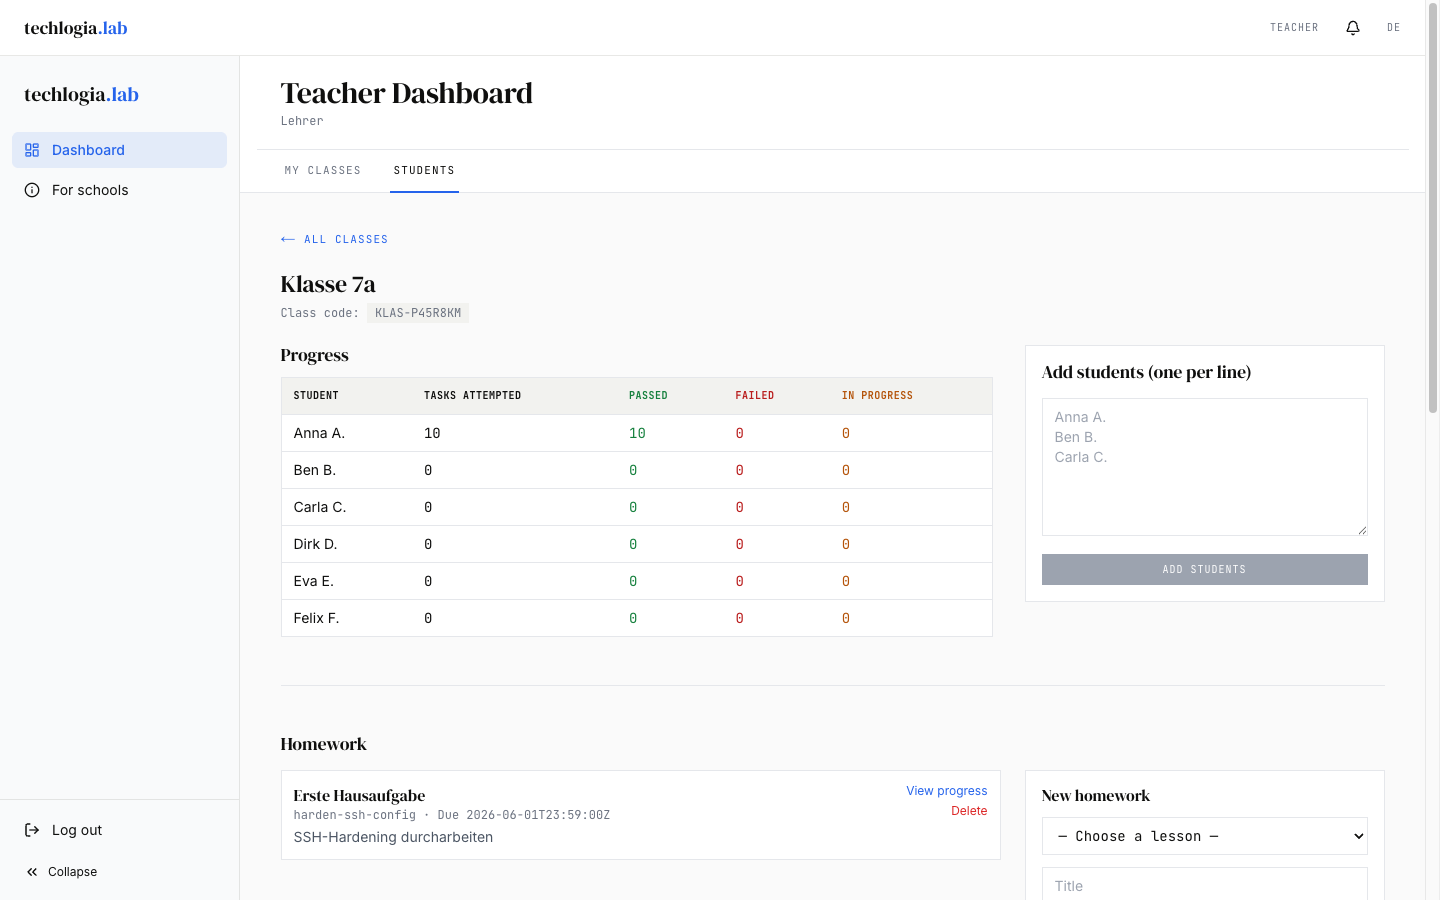
| Column | Meaning |
|---|---|
| Name | Student name (as entered) |
| Login type | Class code or own email |
| Last activity | When did the student last check a task? |
| Tasks passed | Aggregated number |
| Status | Active or Removed |
Correct a student name
If you misspelled a name:
- Click the student in the list
- Edit name → enter new value
- Save
If the student was already logged in, they will be authenticated under the new name on next login.
Remove a student
- Student list → Remove from class
- Confirm
- The student no longer has access to the class
What happens to progress?
- Class-code student: Account is deactivated. Progress is retained for reports, but the student cannot log in anymore.
- Student with own email: Account remains, only class membership ends. The student can still log in and work all published modules.
Final?
Removal is immediate and irreversible. If you only want to pause a student briefly, leave them in the class – progress reports automatically reflect who is active and who is not.
Archive a class
At the end of the school year the class is usually done. Options:
- Keep the class – do nothing. Student accounts remain, you can look later.
- Archive the class – function (if available) hides the class from the active list. Data is retained.
- Remove students – class-code students are deactivated, the class code becomes invalid.
A hard "delete class" deliberately doesn't exist – so progress reports are still available next school year if e.g. an assessment must be retroactively filed.
FAQ
"How many students can a class have?"
Not hard-limited. Up to 30 students per class is reasonable – larger groups make the list unwieldy.
"Can two teachers manage the same class?"
Currently no – each class has one teacher as owner. For co-teaching, one of the two has access; the other gets information verbally or via screenshot. If important to you: feedback to info@techlogia.de – the feature is being discussed.
"A student entered their name wrong and can't log in"
Correct the name in the student list – or ask the student whether they're entering it differently (dots, spaces, accents). The comparison is exact.
"We leaked the class code – what to do?"
The code alone isn't enough for login (the name must match too). If still uneasy:
- Create a new class with a new code
- Add all students (with new name scheme if names also leaked) to the new class
- Archive the old class
"How do students see their class?"
Class-code students see the class name in the account profile. Students with their own email who joined a class see the class name in homework and the catalog banner.
Next step
- Homework – with students in the class, you can assign lessons.
- Modules & quota – control which modules students see and how many sessions they get.